Feedback campaigns return a result with banners, texts and products defined by you when a search query is made (or other triggers ). They are particularly suitable for pushing products , i.e. highlighting them in particular for certain search queries.
Feedback campaigns can also be used to place videos, point to brand shops or areas, or create “zero-hit pages.”
In this article, you will learn how to create a new feedback campaign and configure it correctly.
1. Create a new feedback campaign and define name, time frame and trigger
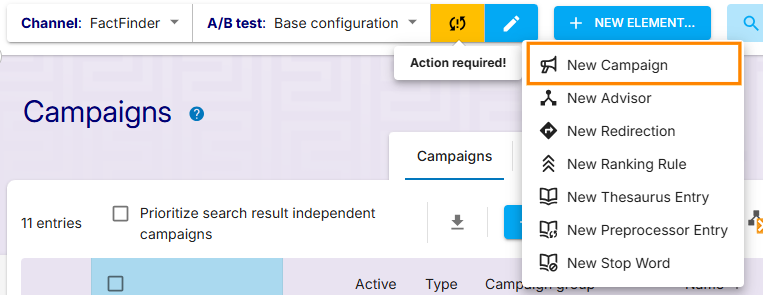
The first three steps in creating a campaign are always the same, regardless of the campaign type. See also: (1) (2)
You can proceed to the next step by clicking on "Next" at the bottom right.
2. (optional) Push products
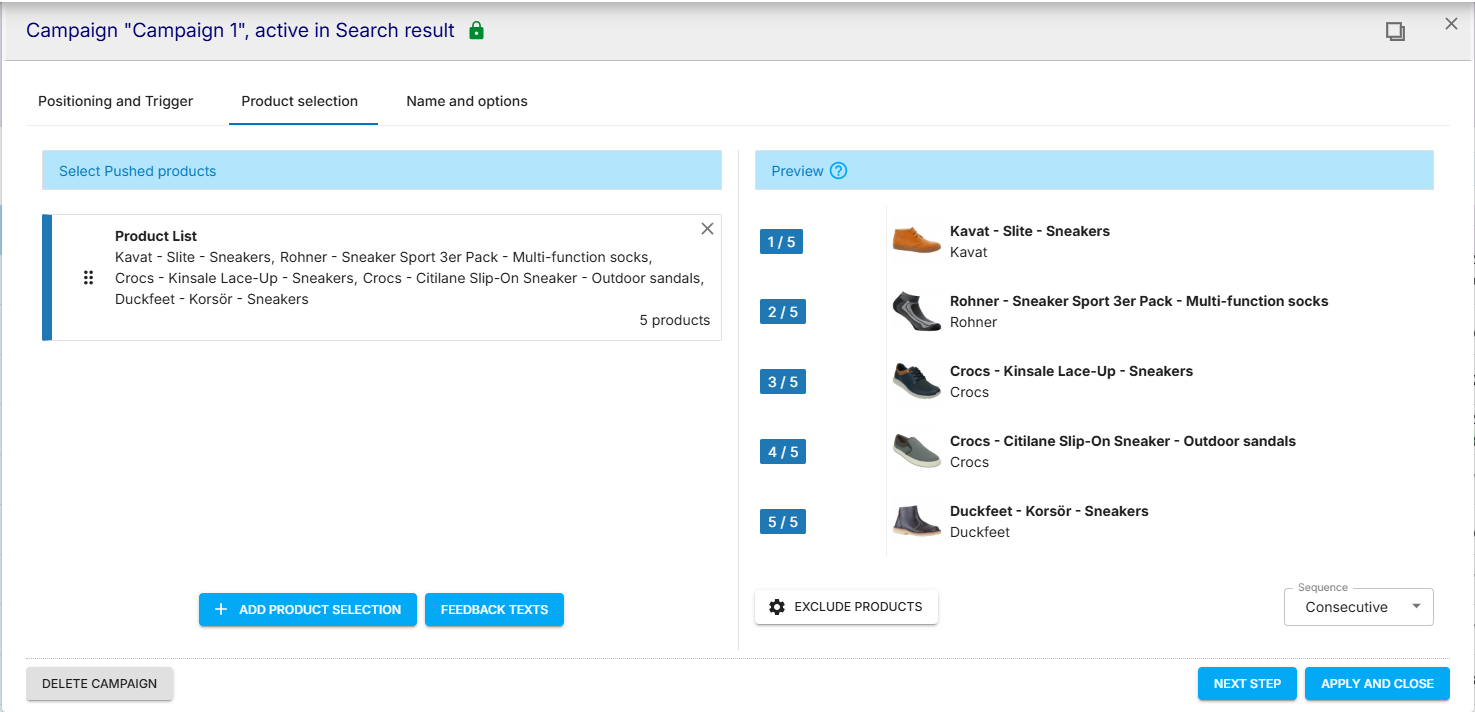
You have the option of highlighting products using the feedback campaign. You can find out more about this in the Pushing products with feedback campaigns section .
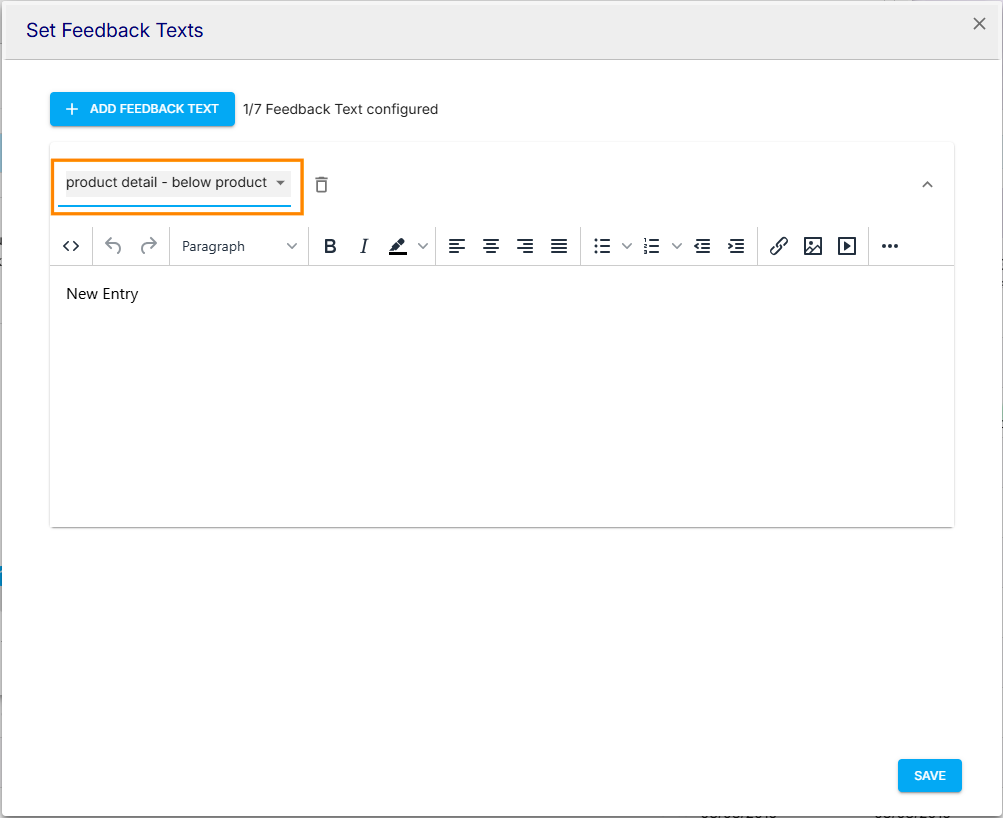
3. Click "Feedback texts" below
To access managing feedback text, click "Feedback texts" in the lower left part of the window.
To add new Feedback text, click Add Feedback Text in newly appeared menu.
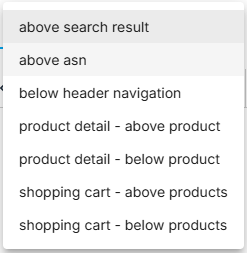
4. Select a position for the feedback text
The drop-down menu is filled with the available positions, only there something can be displayed.
above searchbar
below searchbar
above breadcrumb
below breadcrumb
above pushed product
above search result
below search result
above asn
below asn
below each asn group
html header
pushed products header
product detail - above product
product detail - below product
shopping cart - above products
shopping cart - below products
If the menu is empty, no placeholders have been created from the templates in FactFinder. You can access an overview of all existing placeholders using the toolbar on the left under the entry Campaigns / Feedback Texts .
5. Use the editing field to add text, images, videos, etc.
To display a graphic, text or video in the search results, enter the text or the desired HTML command in the text field. You can also use placeholders, which FactFinder will then automatically fill in depending on the context.
To learn more, see the articles on using feedback text and placeholders.
If your integration doesn't support HTML commands, you can't use HTML tags.
6. (optional) Add additional feedback texts
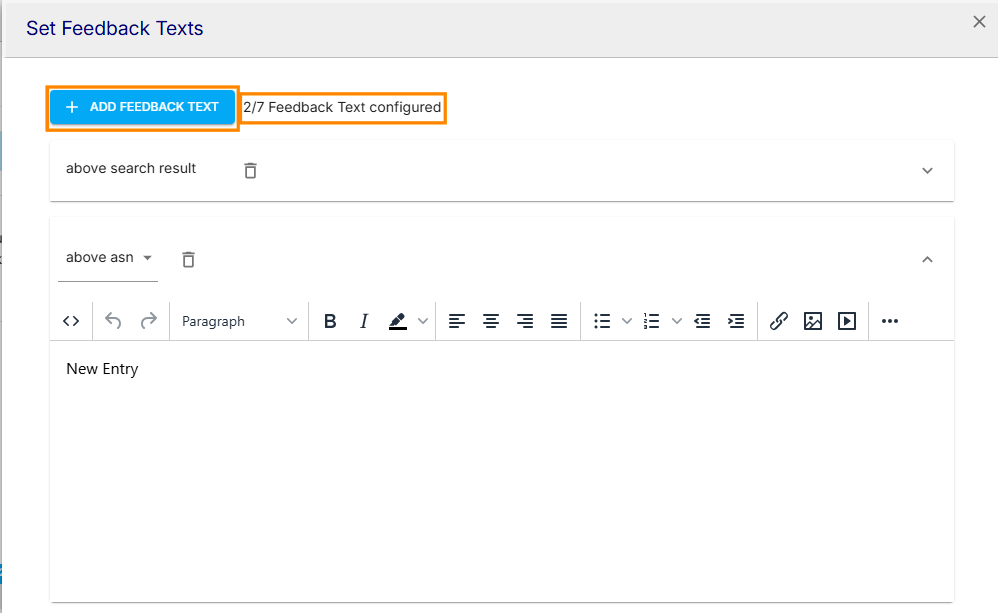
You can add many additional feedback texts to the campaign. The counter is displayed right next to Add Feed back Text button.
7. Click "Save"
.png)
8. Edit “Name and options”
.png)
The last step is the overview, where you can check all the settings again and adjust them if necessary. To do this, click on the individual links.
Here you can also decide whether the campaign should be released immediately (Active from field) .
9. Click "Apply and Close"
.png)
Click on "Create campaign". The new feedback campaign will now be added to the list of existing campaigns and - if time and approval allow - launched.